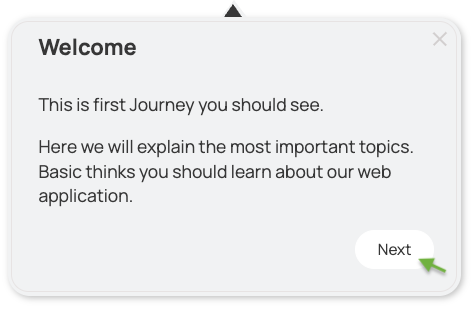
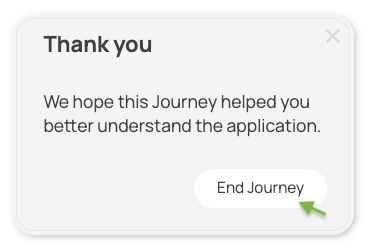
Both cloud and on-premise customers can translate the texts in the Overlay's user interface, such as buttons and labels. This article explains the ways this can be done and how to apply the changes for on-premise deployments.
How to Translate User Interface Texts
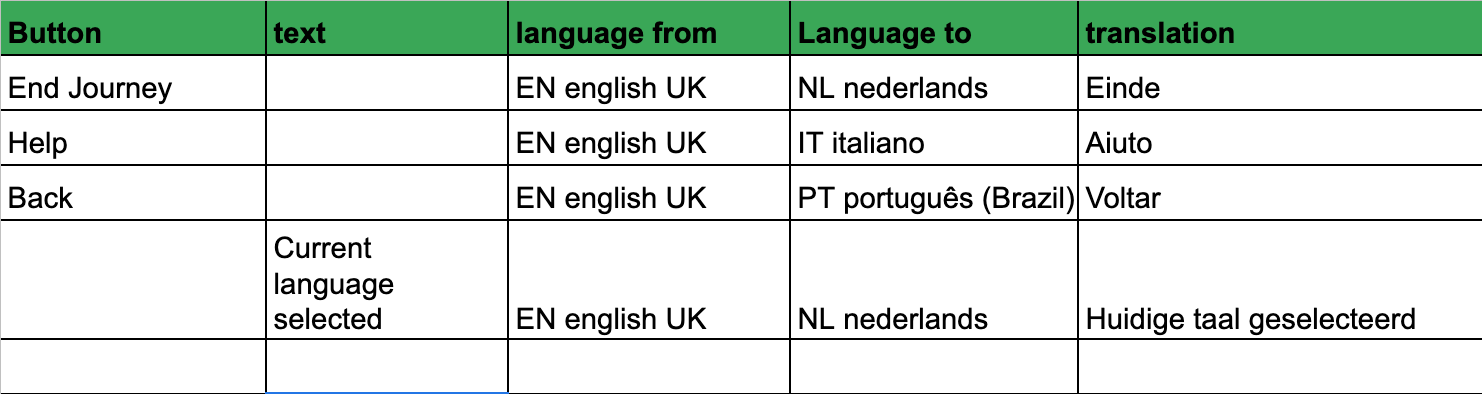
Through an Excel sheet
We can send you an Excel sheet where you fill in the buttons and texts you want to translate, plus the translation. We then update the translations.json file for you and upload it to your cloud server.
Through the translations.json file
You can request the translations.json file from us, perform the translation, and send it back. We will test it and upload it to your server. You can edit the file in Notepad++ (Windows) or TextEdit (macOS). Below is an example of what you will receive:
[
    {
        "language": "en_US",
        "translations": {
            "handle_title": "Help?",
            "menu_title": "How can we help you?",
            "menu_emptyText": "Please, refine your search.",
            "menu_missingSections": "Missing content of sections.",
            "menu_searchForIt": "Search for it",
            "menu_notAssigned": "Not assigned.",
            "menu_noJourneysAssigned": "No Journeys assigned to this Playbook yet.",
            "menu_appLanguageTitle": "Help language",
            "menu_appLanguageNote": "Defines how the help speaks to you",
            "menu_contentLanguageTitle": "Content language",
            "menu_contentLanguageNote": "What is the language used on the site",
            "menu_languageSettings": "User Settings",
            "menu_userSettings_currentUser": "Current User",
            "menu_userSettings_settings": "Settings",
            "menu_userSettings_warnings": "Warnings",
            "menu_userSettings_unknownUser": "Unknown",
            "menu_userSettings_changeUser": "Set your identity",
            "menu_userSettings_editUser": "Edit",
            "menu_userExperienceTitle": "User Experience",
            ..
How to Apply Translation Changes for On-Premise Deployments
Docker installation
1. Get translations.json
After the Newired container starts for the first time, the shared/ folder will also contain shared/apps/overlay.zip. This file includes translations.json.
2. Edit translations.json
- Shut down the container:
docker compose down
- Unzip
overlay.zipinto a folder namedoverlay.
Windows (PowerShell):Expand-Archive -Path .\overlay.zip
macOS/Linux:unzip overlay.zip -d overlay
- Update the translations in
translations.jsonto your desired text. For example, the handle title has the keyhandle_title. - Zip the folder back into
shared/apps/overlay.zip.
Important: The ZIP archive must include the files inside theoverlayfolder, not the folder itself.
Windows (PowerShell):Compress-Archive -Path .\overlay\* -DestinationPath overlay.zip
macOS/Linux:(cd overlay && zip -r ../overlay.zip .)
- Start up the container:
docker compose up -d
Docker installation (25.2.0 and older)
1. Check running containers
List Docker containers to find your Portal's ID:
docker ps

CONTAINER ID   IMAGE                     COMMAND
12b9b7b09a58   newired-portal:26.2.0     "/bin/sh -c ./docker…" ..
32ccc1a67b05   newired-minio:26.2.0      "/usr/bin/docker-ent…" ..
2. Copy overlay.zip
Use the docker cp command to copy overlay.zip from the container to your local environment (data/shared/overlay.zip), replacing <container_id> with your Portal's actual ID:
docker cp <container_id>:/opt/Newired/apps/overlay.zip shared/app/overlay.zip
3. Edit translations.json
- Unzip
overlay.zip. - Update the translations in
translations.jsonto your desired text. For example, the handle title has the keyhandle_title. - Zip the folder back into
data/apps/overlay.zip.
4. Update Docker Compose
In your docker-compose.yml, add the volume mapping ./data/apps/overlay.zip:/opt/Newired/apps/overlay.zip under the portal service:
services:
  portal:
    volumes:
      - ./data/apps/overlay.zip:/opt/Newired/apps/overlay.zip
5. Redeploy
Run docker-compose up -d to apply the changes.
Legacy Installer installation
The translations.json file can be found on your server at the following path:
C:/Newired/tomcat/webapps/newired/WEB-INF/classes/launcher/package/translations.json
Use one of the methods above and save the file to your server with the same name and format.
How to Translate
To add a new language to translations.json, add a new entry with its language key. For example:
[
    {
        "language": "en_US",
        "translations": {
            "handle_title": "Help?",
            ..
        }
    },
    {
        "language": "it_IT",
        "translations": {
            "handle_title": "Assistenza?",
            ..
        }
    }
]
6. Troubleshooting
If a translation is invalid, a notification will appear in the Portal, and the default English translation will be used instead.
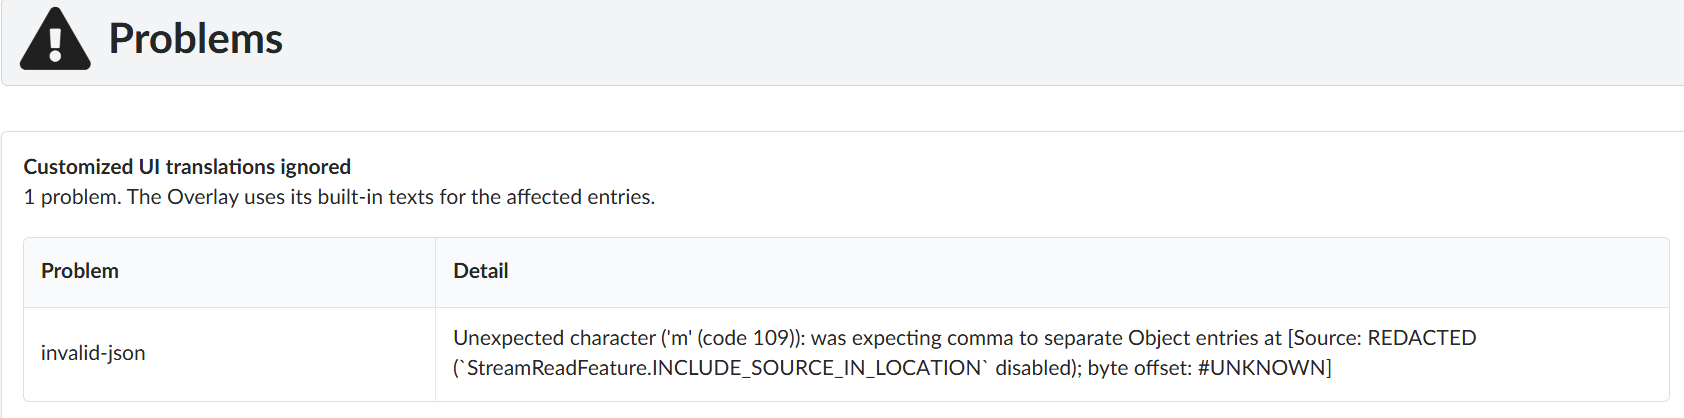
Invalid translations are also reported during Content Publishing.
A new Content version can still be submitted and published, but the Overlay will ignore any invalid translations.

Was this article helpful?
That’s Great!
Thank you for your feedback
Sorry! We couldn't be helpful
Thank you for your feedback
Feedback sent
We appreciate your effort and will try to fix the article